Saturday, August 4, 2012

PB & J Cupcakes


I had the idea for these cupcakes after using peanut butter buttercream for something else. It seemed so natural.I made the grape and strawberry jelly from scratch, but premade would work fine and probably save your sanity.  Any vanilla cake will do because it's the mix of the peanut butter frosting and jelly that are the stars of this cupcake.


Maple Bacon Cupcakes


After a lot of coaxing, I finally gave in and made these cupcakes. Surprisingly, they were good. I like bacon normally but I don't normally like this kind of cupcake. 

While researching, I read that the secret to making bacon cupcakes is to make sure that you add some of the bacon drippings and it worked! Here's the recipe:


Maple Bacon Cupcakes
Makes 24 cupcakes

Ingredients1 package butter yellow cake mix
3 eggs1 (5.9 ounce) package instant vanilla pudding
4 tbs softened butter

4 tbs maple syrup
3 tbs brown sugar
1/4 cup vegetable oil

1/4 - 1/2 cooked bacon (Candied works great too) - Reserve some for garnish
1/4 cup bacon drippings (refrigerated until solidified)
pinch salt


Preheat oven to 350 degrees. Mix yellow cake mix, pudding and brown sugar with hardened bacon drippings and butter until mixed. Add eggs maple syrup and vegetable oil. Gently fold in the bacon. Distribute into cupcake pan and bake for 18 - 21 minutes or until a toothpick comes out clean.

Maple Syrup Frosting

Ingredients
2 sticks of softened unsalted butter
4 tbs maple syrup
pinch salt
1/2 cup powdered sugar

Whip butter until light and fluffy. Mix in maple syrup and pinch of salt. Slowly add powdered sugar until it reaches your desired consistency.  Pipe onto cupcakes and garnish with bacon. Enjoy!

Saturday, October 15, 2011

Super Mario Cupcakes


When I got an order for Super Mario, I could not wait to get started. It was hard to decide who to make and how I should make it. I wasn't sure if I wanted to do 2D or 3D. In the end, I went with 2D because they were for a birthday for a 5 year old boy. There are no special recipes but I wanted to share. :)


1Up, Goomba, Starman, Mario, Red Mushroom, Boo


Princess Peach, Question mark box, Lakitu, Coin Box, (another) Star Man, Fire Flower


Bob-Omb Coin, Piranha Plant, Toad


Shy Guy, Princess Daisy, Luigi, Question Mark Box with Yoshi Egg, Bullet Bill

Wednesday, February 23, 2011

Strawberry Jam


I decided to make strawberry jam for the peanut butter and jelly cupcakes I was planning to make. I had never made jam before. I even bought a jar of strawberry jam as back up, but did not need it at all. This recipe is quite easy (as long as you don't mind baby sitting as the heat rises). It seemed to stay at 212F for a very long time. Also, I had a boiling over problem, but it was not a big issue.

I was so excited after making this that I had to make a piece of toast to test it out. Delicious!


Fresh strawberries, ready for mashing.


Heating


Strawberry Jam
2 pounds fresh strawberries, hulled
4 cups white sugar
1/4 cup lemon juice

Directions

In a wide bowl, crush strawberries in batches until you have 4 cups of mashed berry. In a heavy bottomed saucepan, mix together the strawberries, sugar, and lemon juice. Stir over low heat until the sugar is dissolved. Increase heat to high, and bring the mixture to a full rolling boil. Boil, stirring often, until the mixture reaches 220 degrees F (105 degrees C). Transfer to hot sterile jars, leaving 1/4 to 1/2 inch headspace, and seal. Process in a water bath. If the jam is going to be eaten right away, don't with processing, and just refrigerate.


Here's the jam in use. The cupcakes will follow.

Cupcakes Filled & Topped with Caramel


When I first thought of this cupcake, I was very impressed with myself. I wondered if I could execute something as decadent as this. I was basing the recipe off of several recipes, but when it came time, to make these a reality, the source recipes were no longer posted. Of course, I should have saved them when I found them. Lesson learned. So, out of laziness and defeat, I used box mix.

These cupcakes had a great reaction. The consensus was "Heavenly". I made chocolate and vanilla cupcakes. Strangely, I preferred the vanilla, but I had positive feed back on both. I also made some mini-cupcakes as well and those were even better, like bites of caramel! This is a bit messy (like everything I make) but is well worth it (like some of the things I make). Good luck and enjoy!


Mini vanillas


Fresh from the dipping


A whole lot of delicious


Caramel Sauce (Source)
1 cup of sugar
6 Tbsp butter
1/2 cup heavy whipping cream


Heat sugar on moderately high heat in a heavy-bottomed 2-quart or 3-quart saucepan. As the sugar begins to melt, stir vigorously with a whisk or wooden spoon. As soon as the sugar comes to a boil, stop stirring.


As soon as all of the sugar crystals have melted (the liquid sugar should be dark amber in color)


Immediately add the butter to the pan. Whisk until the butter has melted.


Whisk until caramel sauce is smooth. Let cool in the pan for a couple minutes, then pour into a glass mason jar and let sit to cool to room temperature. (Remember to use pot holders when handling the jar filled with hot caramel sauce.) Store in the refrigerator for up to 2 weeks.


Caramel topped and filled cupcakes

1 dozen cooked cupcakes (use your favorite recipe)
1 prepared recipe of warm Caramel sauce

Prepare the cupcakes by lining them up on wax paper. Remove the center of each cupcake using a paring knife or the wide end of a frosting tip.

Using a spoon, carefully fill each cupcake with caramel and replace the top of each cupcake. Depending on how secure the cake is replaced in each cupcake, you may be able to dip the cupcake into the caramel directly. It may be easier to spoon the caramel on top of each cupcake and rotate it gently until the entire cupcake is coated. (If the caramel becomes harder to work with, you can reheat it slowly in the pot it was cooked in until it is easier to use.)


Enjoy!

Monday, December 27, 2010

Double Chocolate Almond Roca Sandwich Cookies


It has become a Christmas tradition for me to bake these Almond Roca cookies. It began because one year someone gave me a giant tin of (you guessed it) Almond Roca. While I enjoy Almond Roca, I did not want to eat that many. I began to search for a recipe that would be tasty and use up the candy at the same time. What I found was this recipe from the maker of Almond Roca. Every time I make this recipe I get a lot of compliments.

In a way, this recipe is easy. The cookie and assembly is simple. The toughest part is crushing the Almond Roca. I have been using a meat tenderizer (hammer). Talk about a workout.

By the way, I've also used the recipe on their site for the Almond Roca Milk Chocolate Fudge. Very rich but very good.

Here it is this year for your enjoyment.


You start with a giant cookie. It smells amazing as it cooks.


I found that the easiest way to get an even coat of chocolate is to paint it on with a basting brush


Here's the messiest part.


Almost ready for refrigeration.


Some of the best parts of the cookie is the left over scraps.


Double Chocolate Almond Roca® Sandwich Cookies (Source)

1 cup butter
1/2 cup brown sugar
1/2 cup sugar
1 egg yolk, beaten
1 tsp vanilla
2 cups cake flour
2 milk chocolate bars, melted
1 cup ALMOND ROCA® Buttercrunch, ground

Preheat oven to 350°F. Cream butter, brown sugar and white sugar together until light and fluffy. Add beaten egg yolk and vanilla. Add flour and mix thoroughly. Spread mixture thinly on a greased cookie sheet. Bake 15-20 minutes.

Spread 1/2 melted chocolate bar on half of warm cookies and top with ground ALMOND ROCA®. Cut cookies while warm. Top with another cookie, pour remaining chocolate over top of sandwich and top with ALMOND ROCA®. Refrigerate.


Seriously, these are great cookies. Let me know what you think!

Monday, October 18, 2010

Pumpkin Spice Cupcakes with Cinnamon Cream Cheese Frosting


I was trying to think of some good fall cupcakes and found these. I was planning to make them in a couple of weeks but a coworker moving on, so I decided to say goodbye by making these tasty cupcakes.

I was so impressed with the flavor! I will definitely make these again...maybe later this month! The recipe is an altered Martha Stewart recipe. Give it a try.


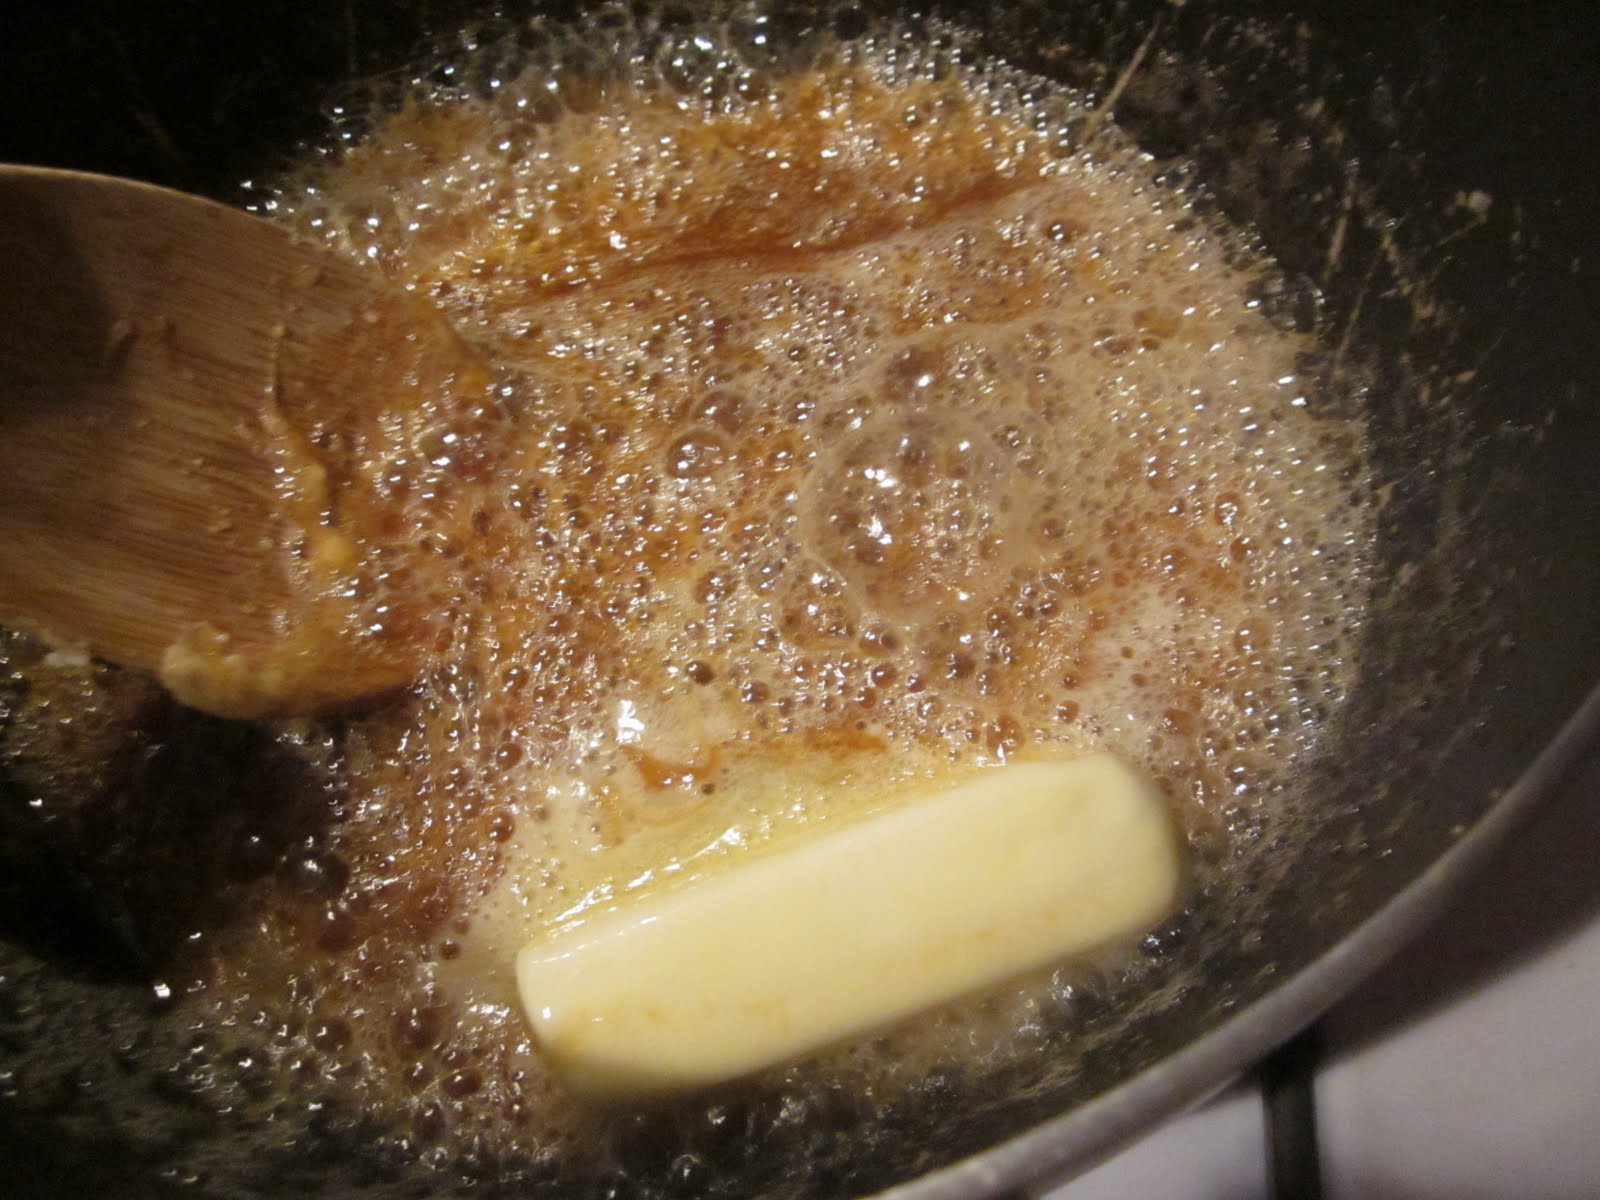
Mixing the batter! Mmm


Fresh from the oven


Frosted for your pleasure


Pumpkin Spice Cupcakes with Cinnamon Cream Cheese Frosting (Source)

Ingredients
2 cups all-purpose flour
1 teaspoon baking soda
1 teaspoon baking powder
1 teaspoon coarse salt
1 ½ teaspoons ground cinnamon
1 teaspoon ground ginger
1/4 teaspoon freshly grated nutmeg
1 teaspoon pumpkin pie spice
1 cup packed light-brown sugar
1 cup granulated sugar
1 cup (2 sticks) unsalted butter, melted and cooled
4 large eggs, lightly beaten
1 can (15 ounces) pumpkin puree


Preheat oven to 350 degrees. Line cupcake pans with paper liners; set aside.

In a medium bowl, whisk together flour, baking soda, baking powder, salt, cinnamon, ginger, nutmeg, and pumpkin pie spice; set aside.

In a large bowl, whisk together, brown sugar, granulated sugar, butter, and eggs. Add dry ingredients, and whisk until smooth. Whisk in pumpkin puree.

Divide batter evenly among liners, filling each about halfway. Bake until tops spring back when touched, and a cake tester inserted in the center comes out clean, 20 to 25 minutes, rotating pans once if needed. Transfer to a wire rack; let cool completely.

Cinnamon Cream Cheese Frosting
2 (8) ounce packages cream cheese, softened
1 stick butter, softened
2 lbs. confectioners’ sugar (I used 1 1/2 lbs)
1 TBS ground cinnamon
2 teaspoons vanilla extract

Using a mixer, blend the butter and cream cheese together until well combined. Gradually add in the confectioners’ sugar until fully incorporated. Finally mix in vanilla and cinnamon. Frost cupcakes.